Why installation matters
A fine slab installed badly can crack, rock or leave ugly seams, while a modest slab installed well can look great for decades. Most countertop problems blamed on the material are installation problems.
That is why this guide spends time on the details.
Ask any company how it installs, and expect a specific answer.
Ask to see the installation steps in writing. A company that has a written process for leveling, seaming and sealing is more likely to follow it on your kitchen. A brief checklist is enough.
Cabinet check
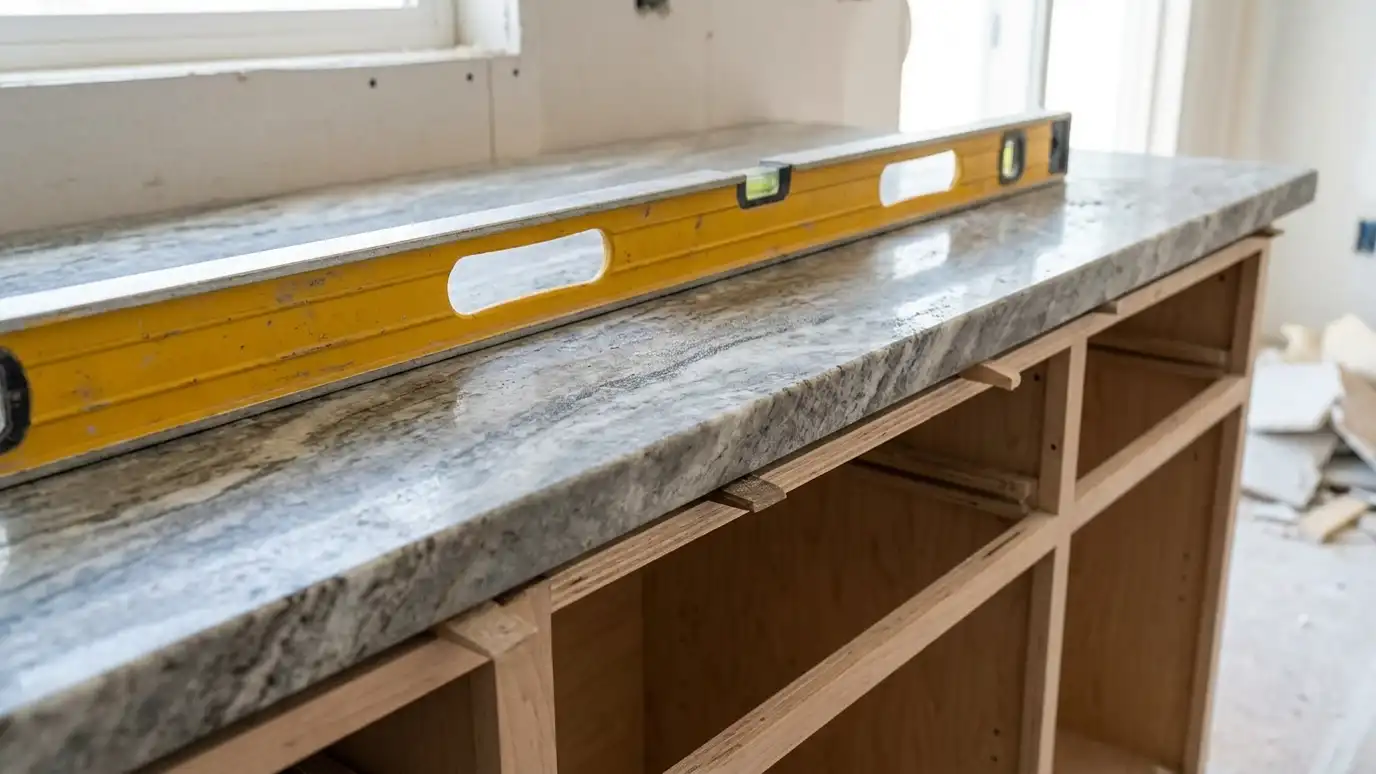
Before setting anything, the crew checks the cabinets for level, strength and fastening. High spots are shimmed and low spots are built up, since stone needs a flat bed.
Weak cabinets or unsupported spans are fixed first.
Old countertops are removed and hauled away.
Older houses can hide surprises: sagging cabinets, uneven floors and walls that lean. A careful crew plans extra time for these homes and explains what they find.
Setting the pieces
Each piece is lifted into place with the right equipment, then checked for level and fit. Adhesive or silicone beads hold the stone to the cabinets, and the piece is pressed into place.
Pieces are dry-fitted first so seams and cutouts line up.
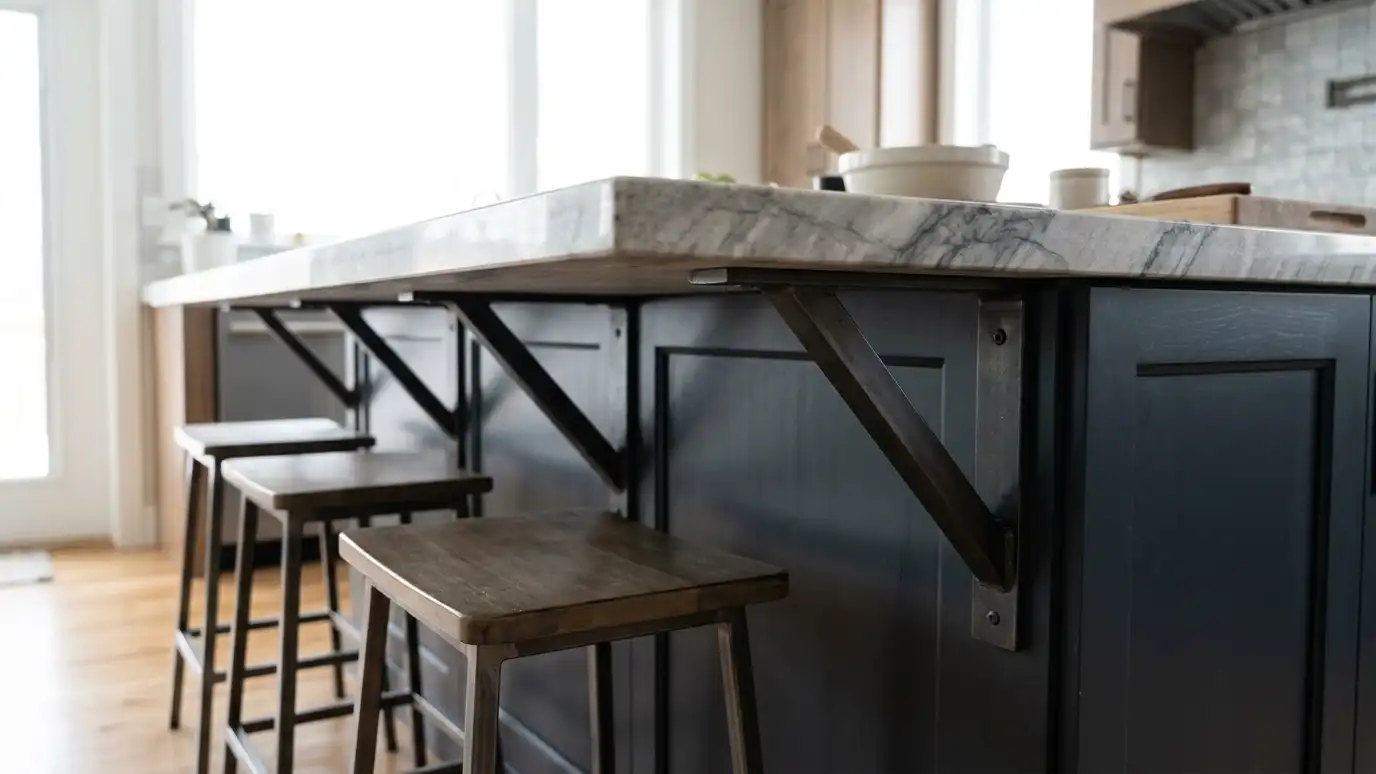
Overhangs get supports before the stone is set.
Seams are set while the adhesive is workable, so the crew moves carefully and steadily. A good seam is the result of preparation and patience rather than speed.
Seams
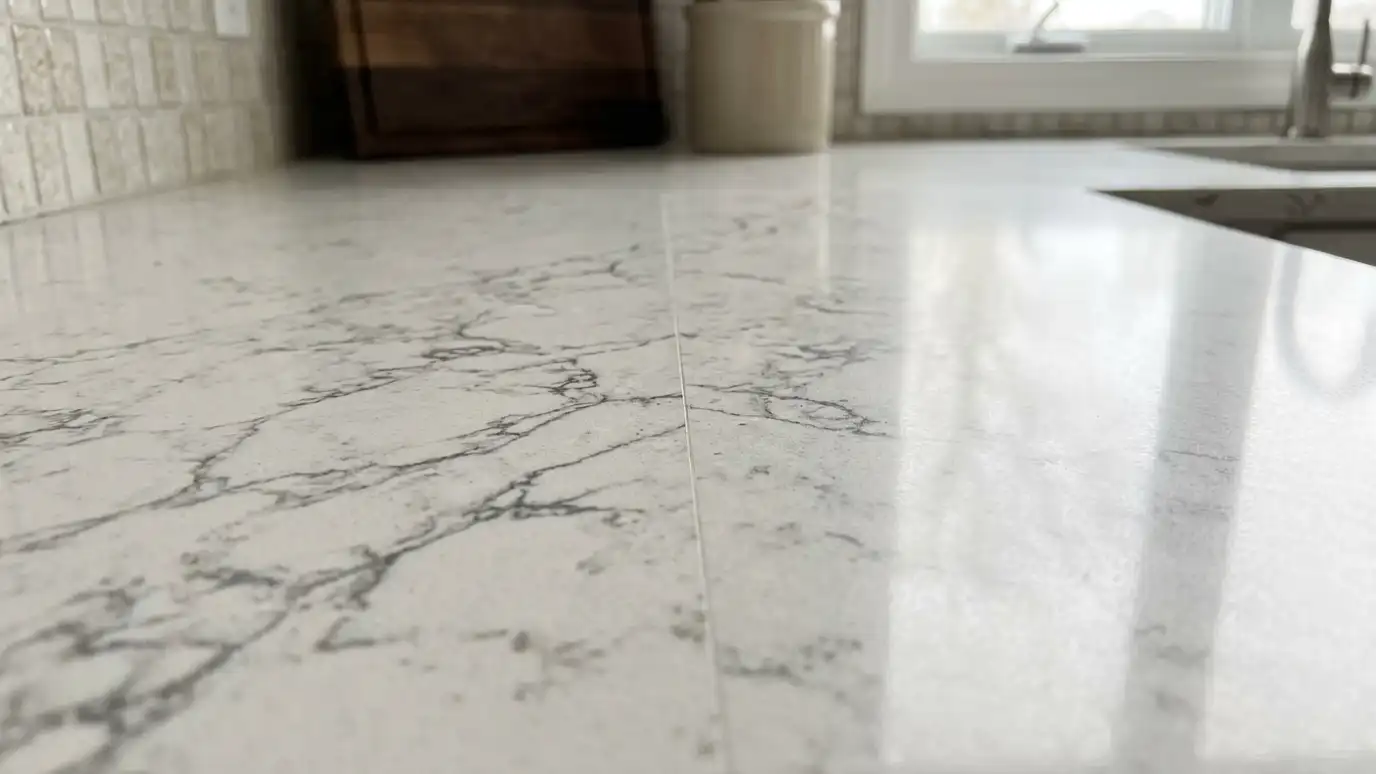
Seams are joined with color-matched adhesive and pulled tight with seam setters so the pieces are flush. Excess adhesive is removed and the joint is polished.
The seam should feel smooth.
We keep seams away from sinks and cooktops where possible.
A heavy slab set on a twisted cabinet can crack. Shims are placed in specific spots to hold the stone flat without stress, and the crew checks the level in several directions before the adhesive sets.
Sink and cooktop
Undermount sinks are mounted with strong adhesive and clips. The joint is sealed with silicone. Cooktops are set according to the spec sheet.
Plumbers and appliance installers connect them after the top is set.
We coordinate timing so you are not without a kitchen for long.
Silicone lines should be neat and continuous. A tidy bead at the wall and the sink is a sign of care and keeps water out for years.
Sealing and cleanup
Natural stone is sealed after installation. Silicone lines are tooled neatly. The surface is cleaned, protective film removed and the area vacuumed.
We walk through the finished work with you.
We explain how long to wait before heavy use.
After the job, take a short walk around the kitchen. Look at the seams, the edges and the cutouts. If anything looks uneven, point it out while the crew is still on site.
Ask how a company checks cabinets, supports overhangs and finishes seams, because the answer tells you how long your counters will perform.