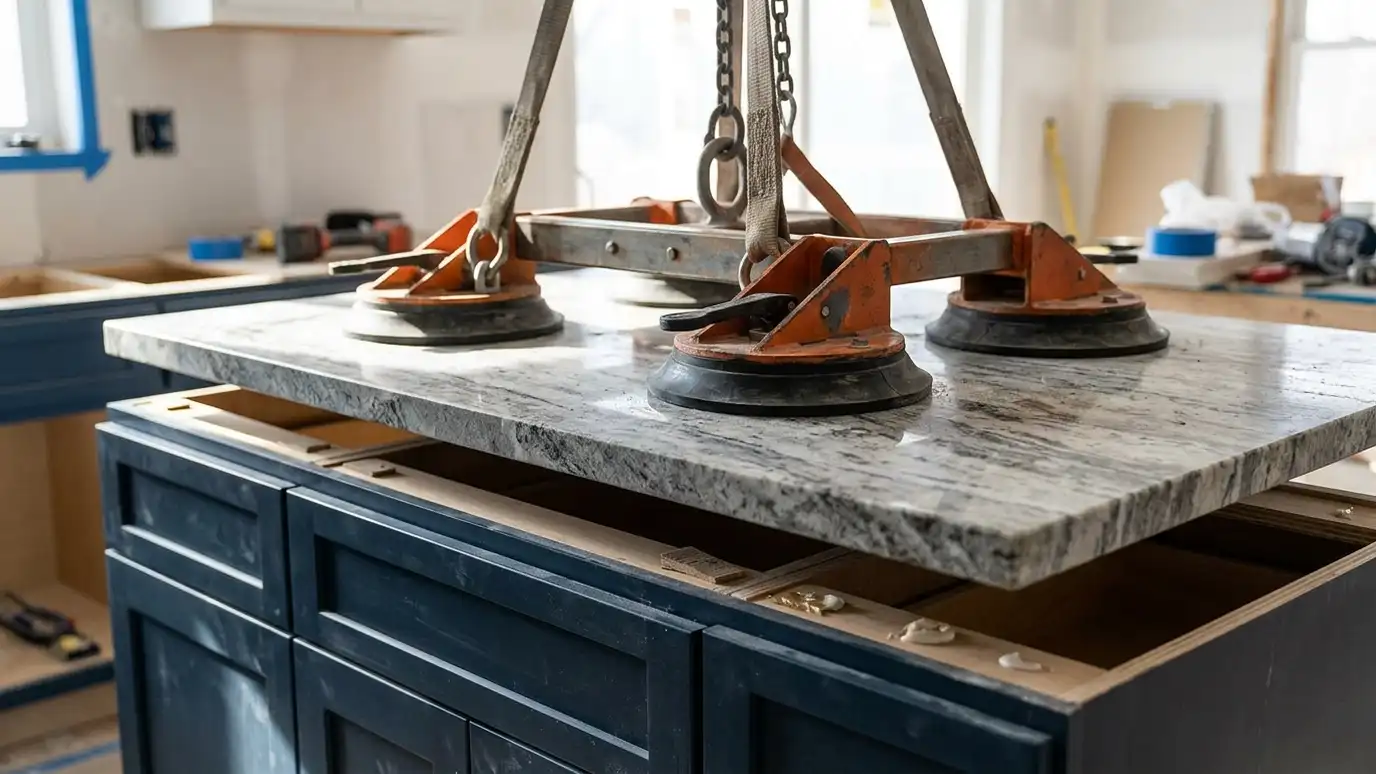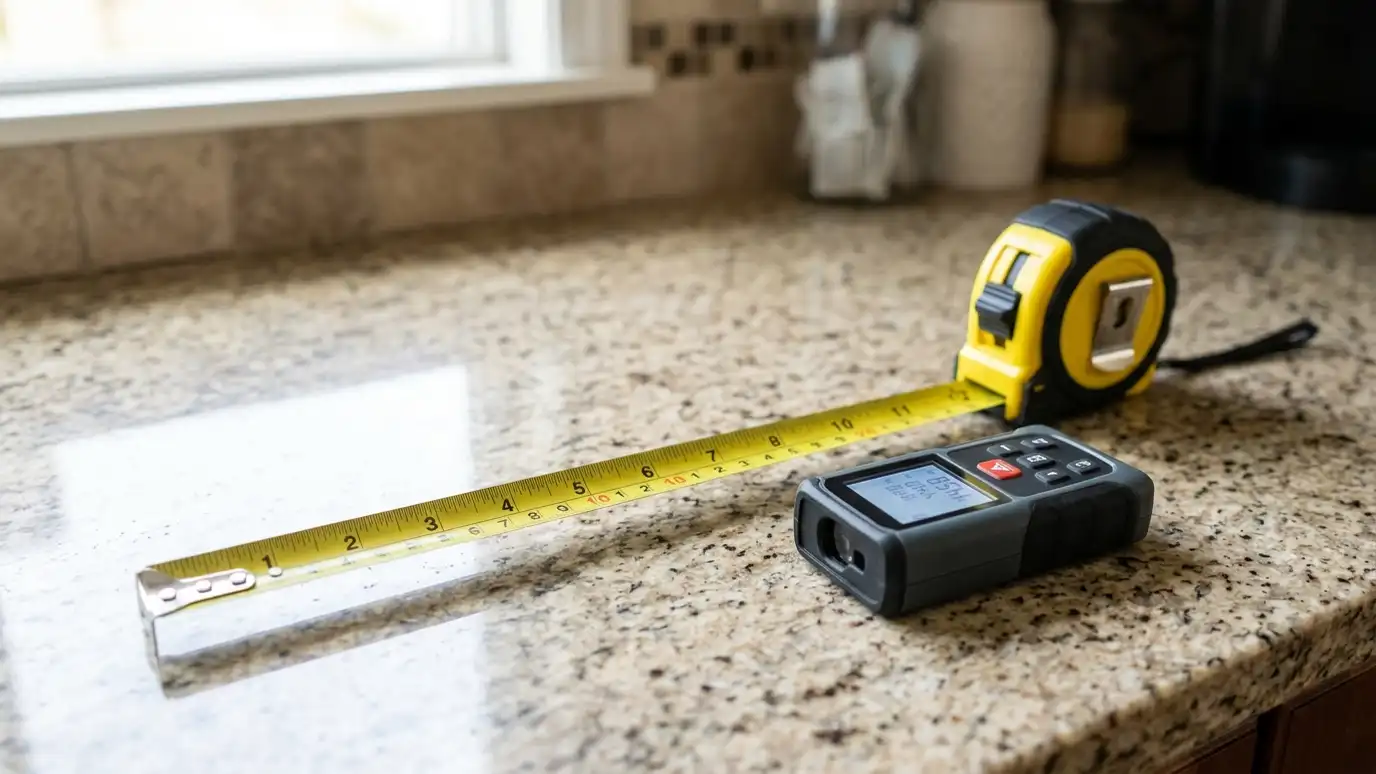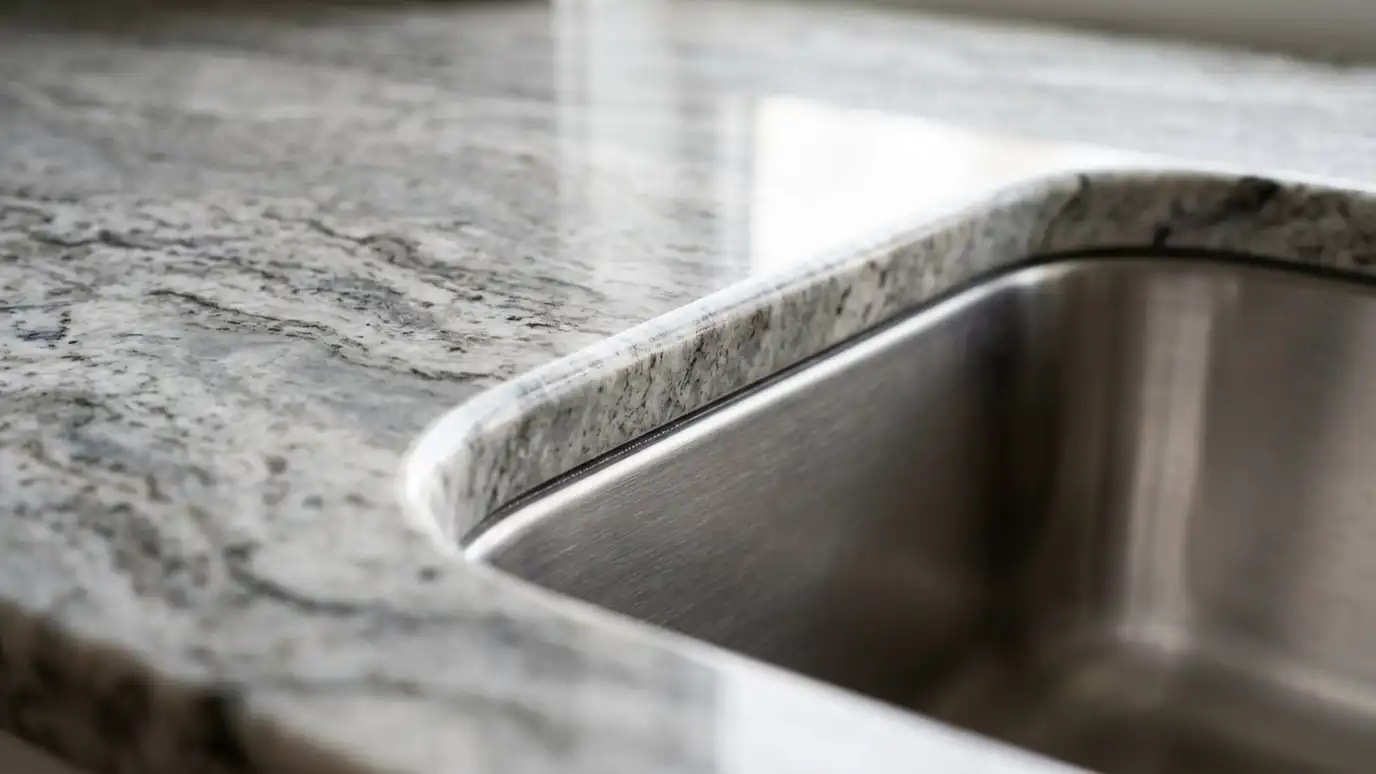
Clean undermount sink openings with polished reveals, made for the exact sink and faucet you choose.
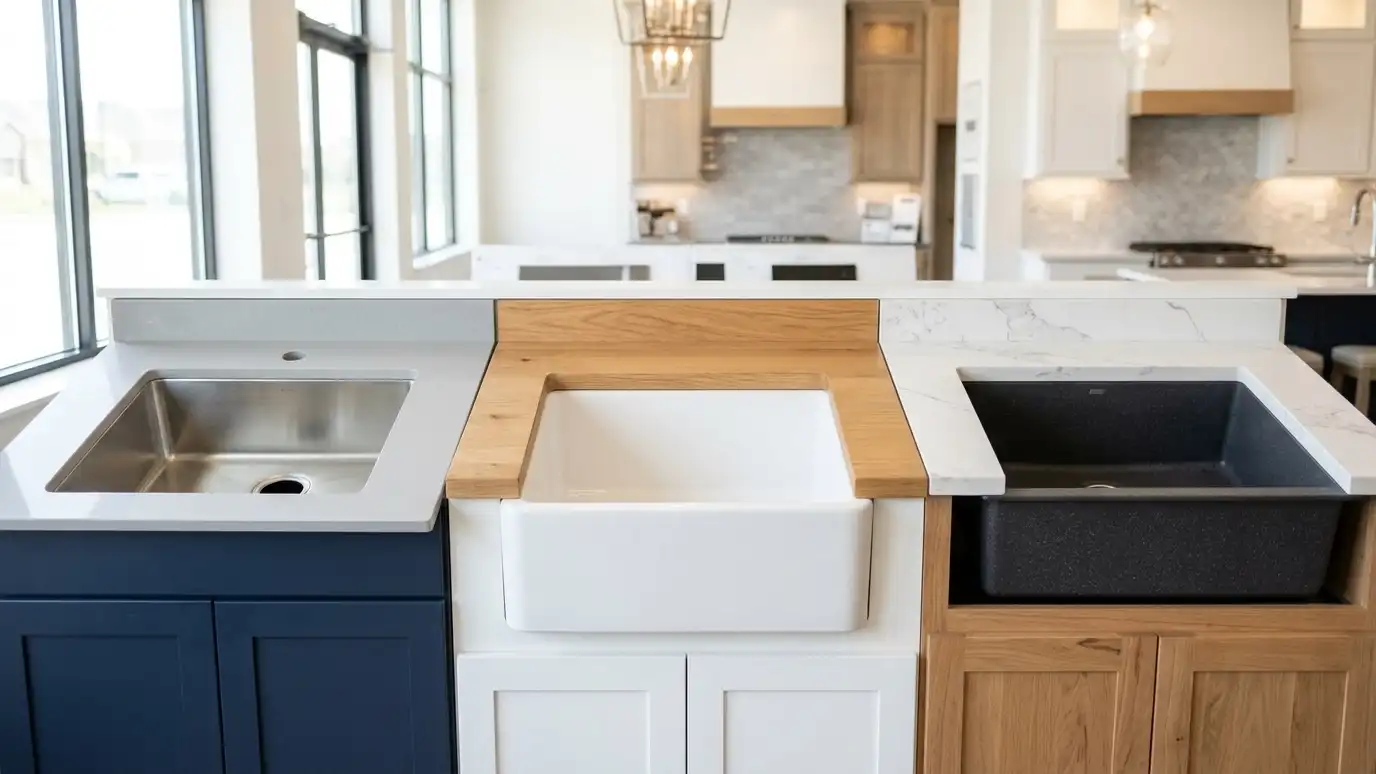
An undermount sink is attached below the countertop, so the stone edge meets the bowl with no rim to catch crumbs. It looks clean, it is easy to wipe into and it suits almost any stone. It also asks for precision. The cutout has to match the sink exactly, the edges must be polished smooth and the sink must be supported and sealed so the weight of water and dishes does not stress the stone. Homeowners in Nashville ask us to make and set undermount sinks the right way.
We confirm the sink model first, then use its template to cut the opening. We choose a reveal, which is how far the stone sits back from the edge of the bowl, such as a small reveal or a flush look. Edges are polished in the shop, and holes for the faucet and soap dispenser are drilled. We install the top, set the sink with strong adhesives and clips and seal the joint with silicone. We coordinate or perform the plumbing reconnects.
Every sink has a slightly different shape, so we use the manufacturer template for an exact cutout.
A positive reveal shows a ledge of the sink, a zero reveal is flush and a negative reveal puts the stone edge over the sink.
Stone is weakest at corners, so cutouts use rounded corners and the area is supported to avoid cracks.
The sink is mounted with adhesives and brackets rated for its weight, and the joint is sealed against water.
Drag the handle to compare.
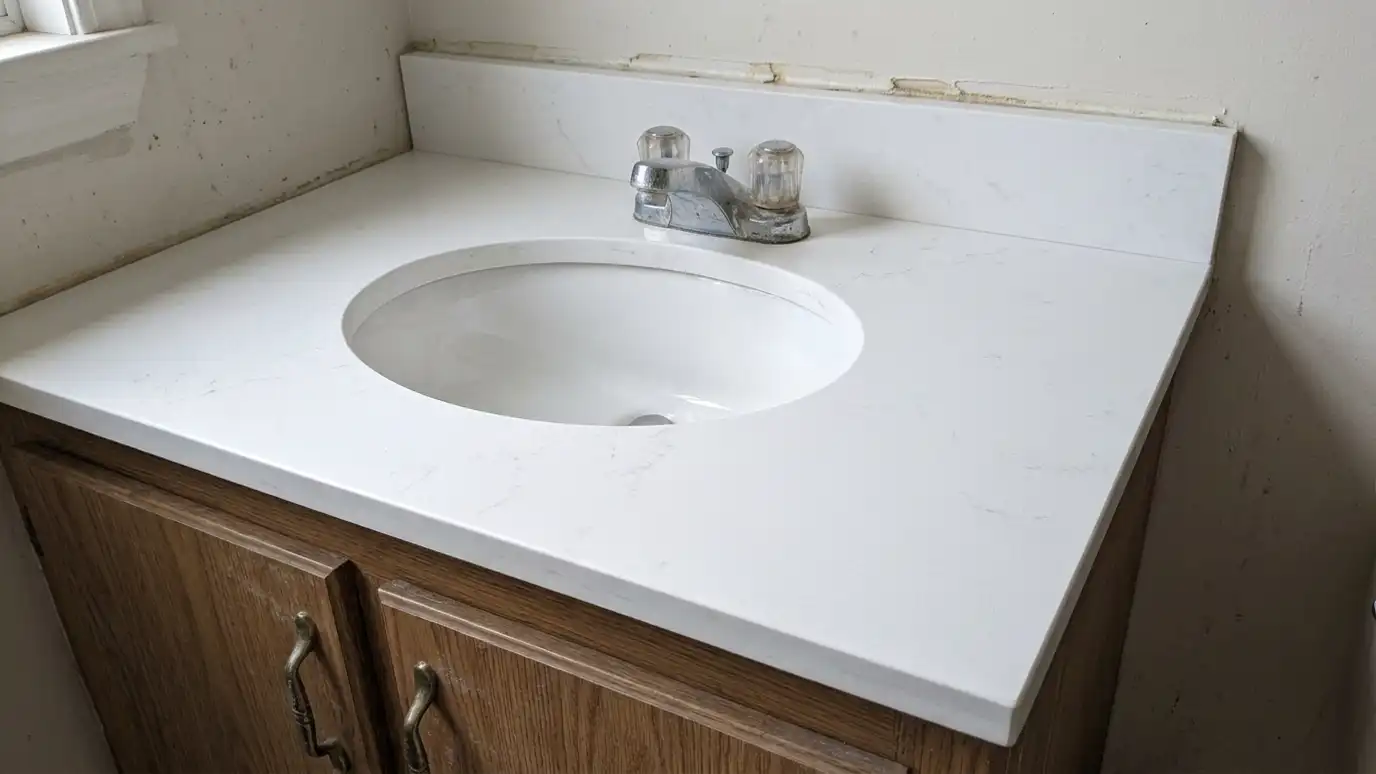
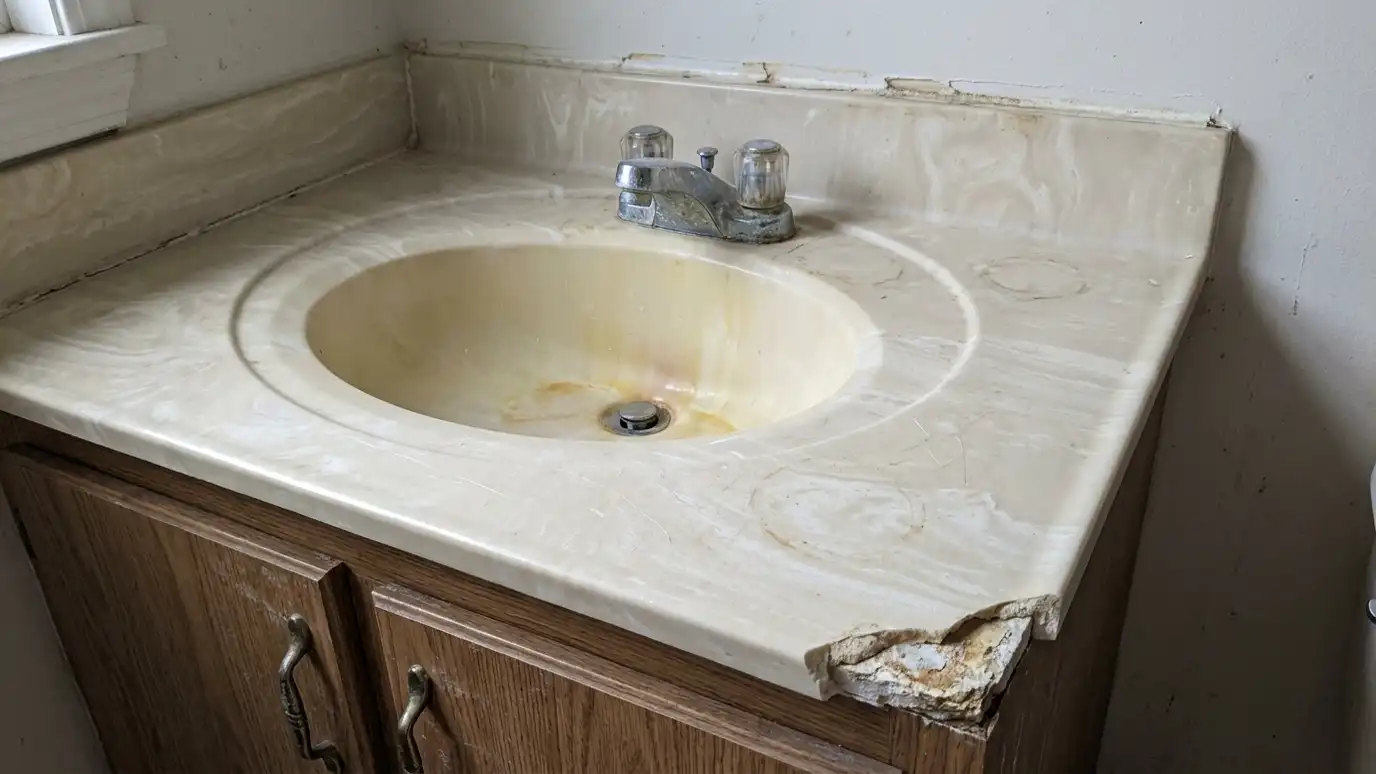 BeforeAfter
Cut to the exact model.
Positive, zero or negative.
Smooth and sealed.
Drilled to layout.
Clips and adhesives.
Water kept out.
Every topic has its own page with what to expect and how we approach it.
 Top brandFrankeA kitchen solutions company with kitchen sinks, faucets and filtration, with a Swiss craftsmanship tradition.Learn more
 Top brandNKBAThe National Kitchen and Bath Association, a professional association with education, research and events for the industry.Learn more Top brandNatural Stone InstituteA stone industry association, formerly the Marble Institute of America, with resources, education and technical information.Learn more
Pick the project and options to see a typical sequence from templating to fabrication to installation, with lead time for slabs.
You tell us what you want or what your counters are doing, and we set an estimate visit that fits your day.
We look at your cabinets, layout and walls, talk through materials, edges, sinks and seams and note any prep that is needed.
You choose the material, slab and details, receive a plain written scope and approve it before anything is ordered or cut.
We template your cabinets exactly, then the countertops are cut, shaped and polished to fit, with openings made for your sink and cooktop.
We remove the old tops, set the new ones level, join the seams, seal where needed and set the sink and backsplash.
We clean up, haul away the old countertops if you asked, walk you through the finished work and explain how to care for it.
They suit stone, quartz and solid surface. They are not recommended for laminate or wood without special care.
The amount of sink rim visible from above. It changes the look and how easy the edge is to clean.
Yes, or at least the model number and spec sheet.
Sometimes, if its shape and condition allow it. We check.
Plumbers connect them after installation, and we coordinate holes and clearances.
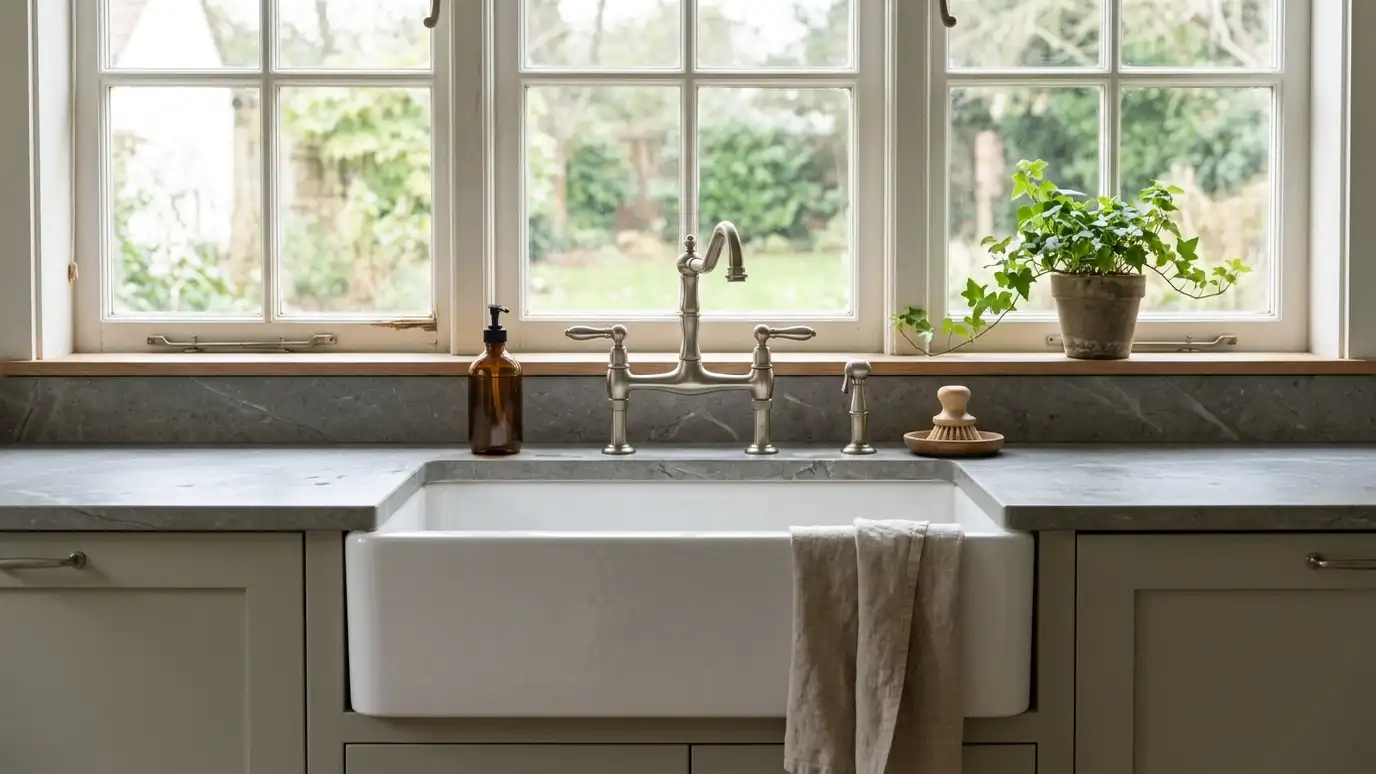 Farmhouse and Apron Sink CutoutsCutouts for apron-front and farmhouse sinks, planned around cabinets, countertop overhang and plumbing.Explore
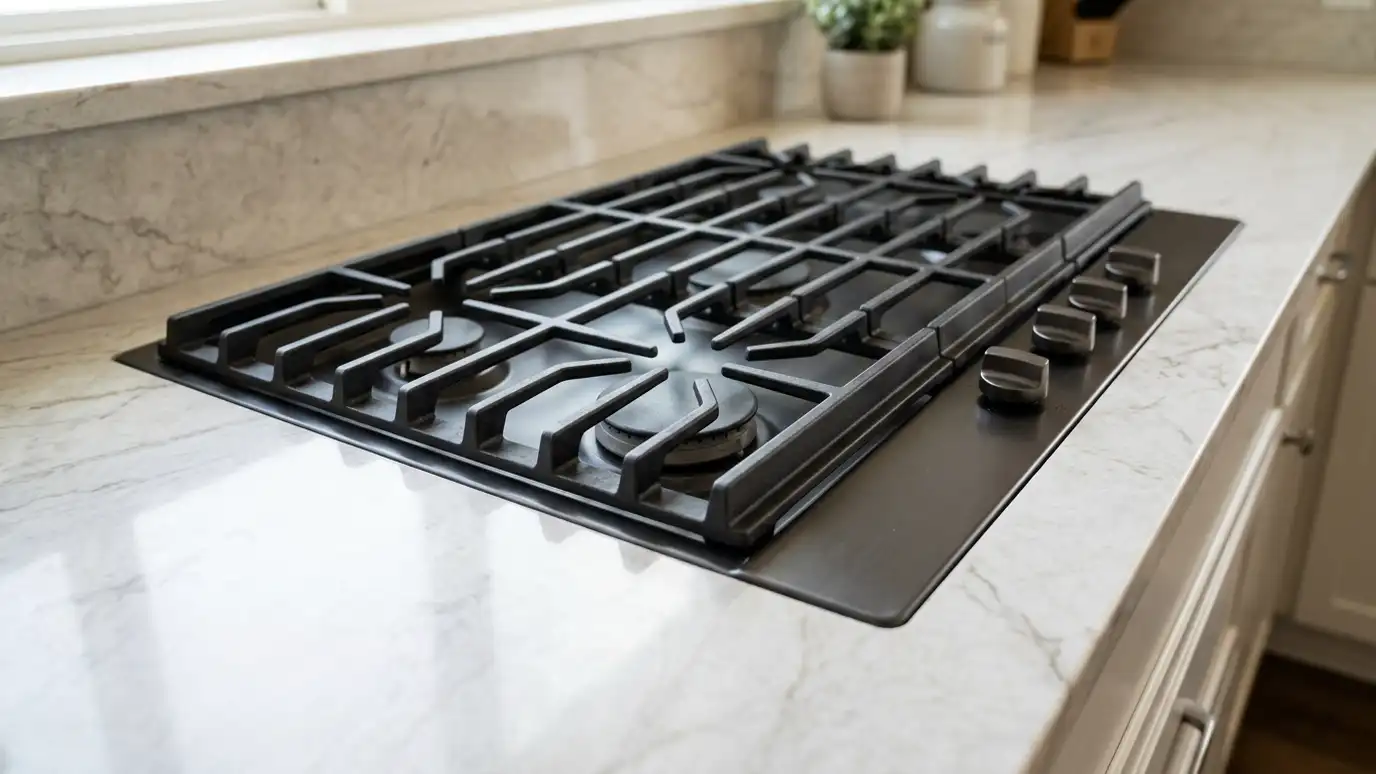 Cooktop and Range CutoutsCutouts for cooktops, slide-in ranges and drop-in ranges, following the appliance spec sheet for fit and clearance.Explore
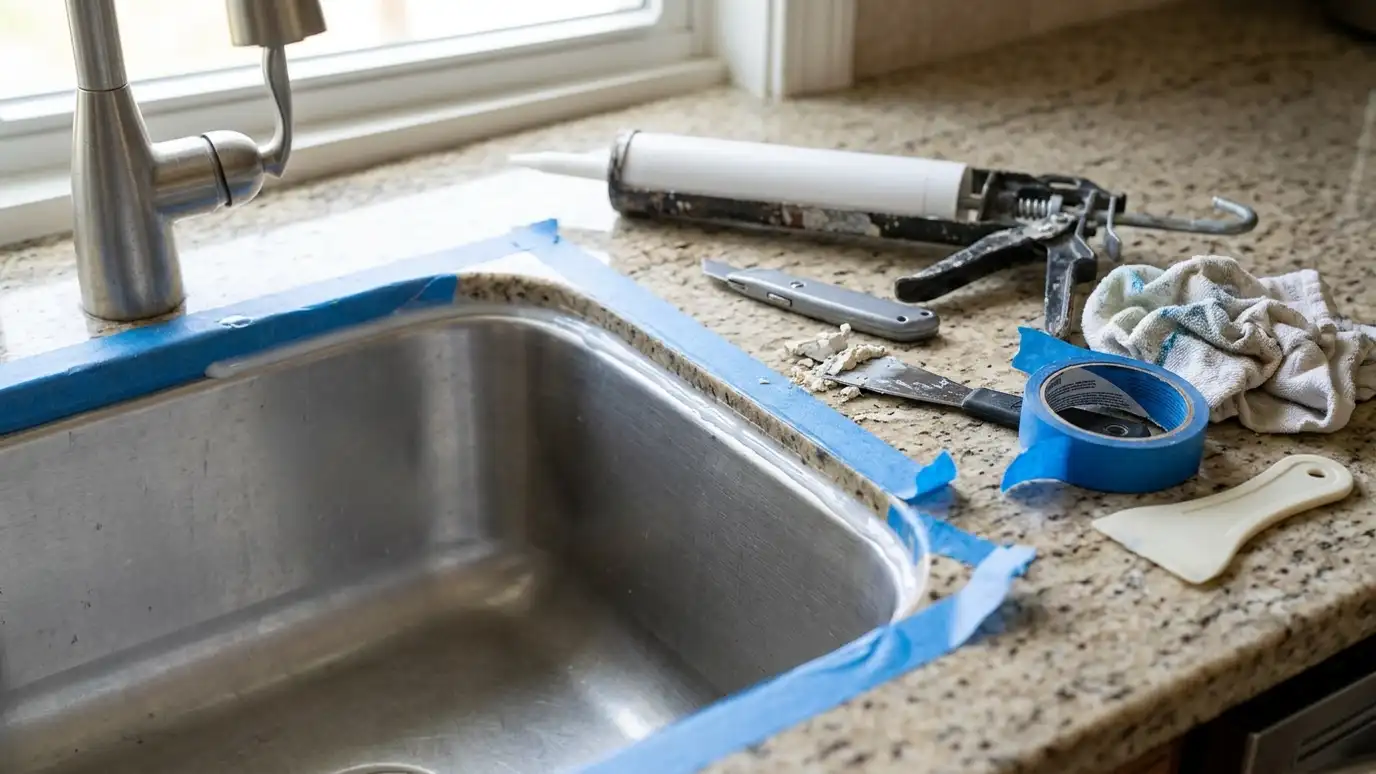 Sink and Cooktop ReinstallationSinks, faucets and cooktops reset after repairs, replacements and remodels, with fresh silicone and clean fit.Explore
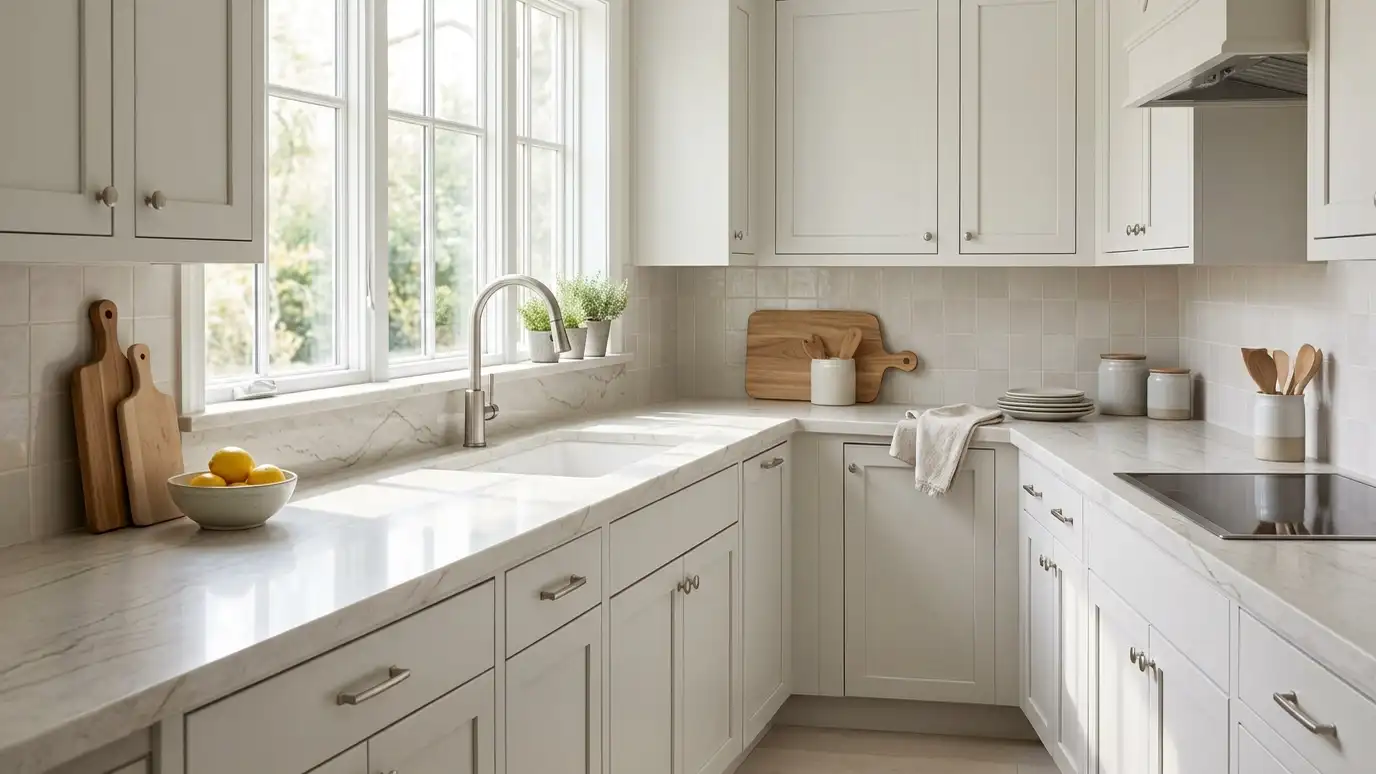 Kitchen Countertop InstallationKitchen countertops fabricated and installed around your sink, cooktop, island and layout.Explore
Tell us about your project and we will call you back to set up a visit.
Or call (615) 357-7797 to talk now.